
Create a Conversation Flow
In this article, we'll delve into the world of automated chatbot conversations designed to engage your fans. Powered by our innovative Canvas Flow Builder, the Conversation Flow feature offers a seamless and intuitive outlet for crafting dynamic interactions with your audience. From messages to single-game-widgets, and polls to image carousels, the possibilities are endless.
Note:
This article will guide you through the process of creating a successful Conversation Flow. Additionally, we have more specific articles covering the following topics:
When is the Conversation Flow the right choice?
If you're keen on fostering direct, native customer interactions with your fan base through your existing social media accounts or crafting a unique pre-defined chatbot, using the Conversation Flow is the way to go!
Here are a few relevant examples:
Engage with your fan base through pre-defined interactive messages using our automated chatbot and its versatile elements. Combine games, links, forms, media assets, or custom responses, which are customizable with a click to meet your specific needs and goals.
Lead Generation: Utilize Facebook Messenger to engage your audience in interactive conversations, effortlessly capturing information, and qualifying leads for your organization's fan base. Learn more on Facebook Social Profile Data.
Guide users through a series of questions to understand their preferences and recommend merchandise or content pieces they might be interested in.
Allow fans to register for events or a mailing list using the chatbot alone.
Getting started
Select the desired campaign to attribute your new Conversation Flow, or create a new campaign on the go.
On your right, click on the
 button.
Select the Conversation Flow.
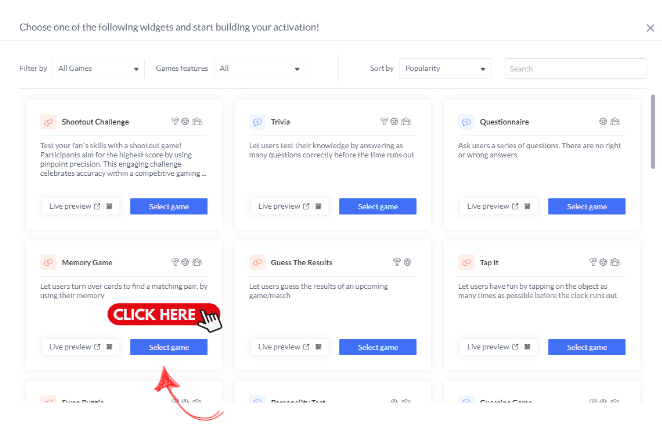
Select an existing template or create a new board to start one from scratch.
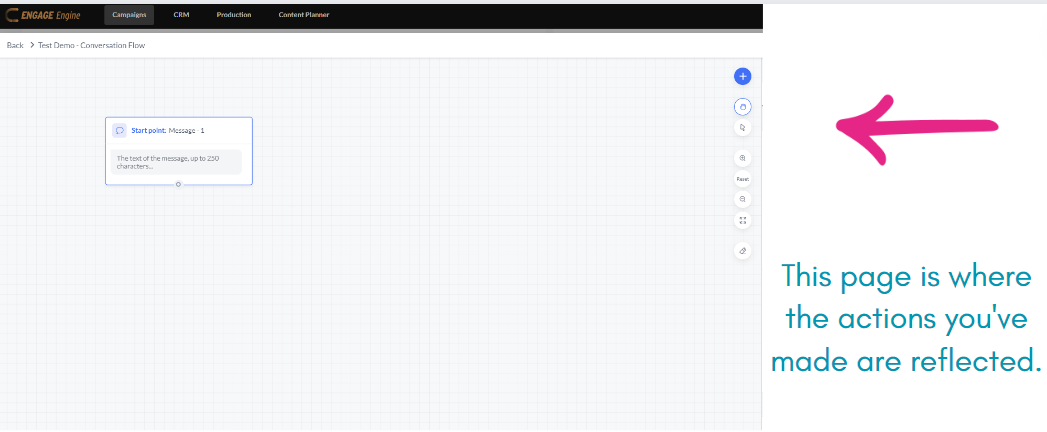
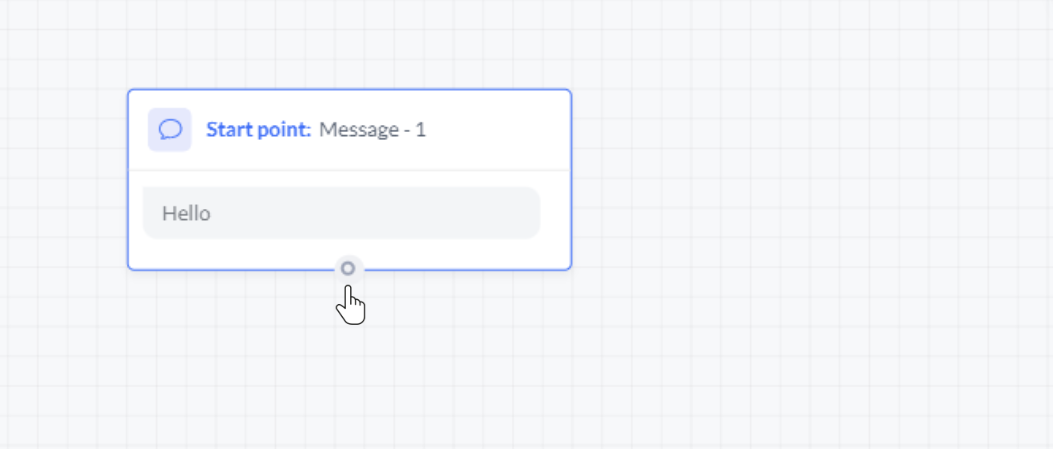
Once you hover over that white circle, simply drag it to show the options we can choose
The available choices would consist of the following Widget:
Content
Message - You can utilize this method to send a text message of up to 640 characters.
Terms of Use -This grants you the ability to input up to 80 characters of Terms of Use (TOS).
One Time Notification - It permits a participant to send a single follow-up message once the 24-hour messaging window has closed. The user will then have the option to receive a notification in the future.
Free Text -The idea behind this is to send a text message that can prompt a range of responses, like text, email, numbers, images, videos, or labeled data.
Activations
Add a game widget - this is where we select a game for the participants to play
Existing activation - This is where we select an existing activation to add to the conversation flow.
For existing activation, you can’t add another widget following this one
Media
Carousel -This setup is made for a carousel of images, where each image can include a button providing different link options.
Video GIF - This option is to include a video or an animated GIF image.
File - In this option, we upload a file that the participant can view or download
Q&A
Poll - This poll message offers up to 10 answer options, each including an image, a title, and a button.
Single Question - A single-question message with up to 10 answers
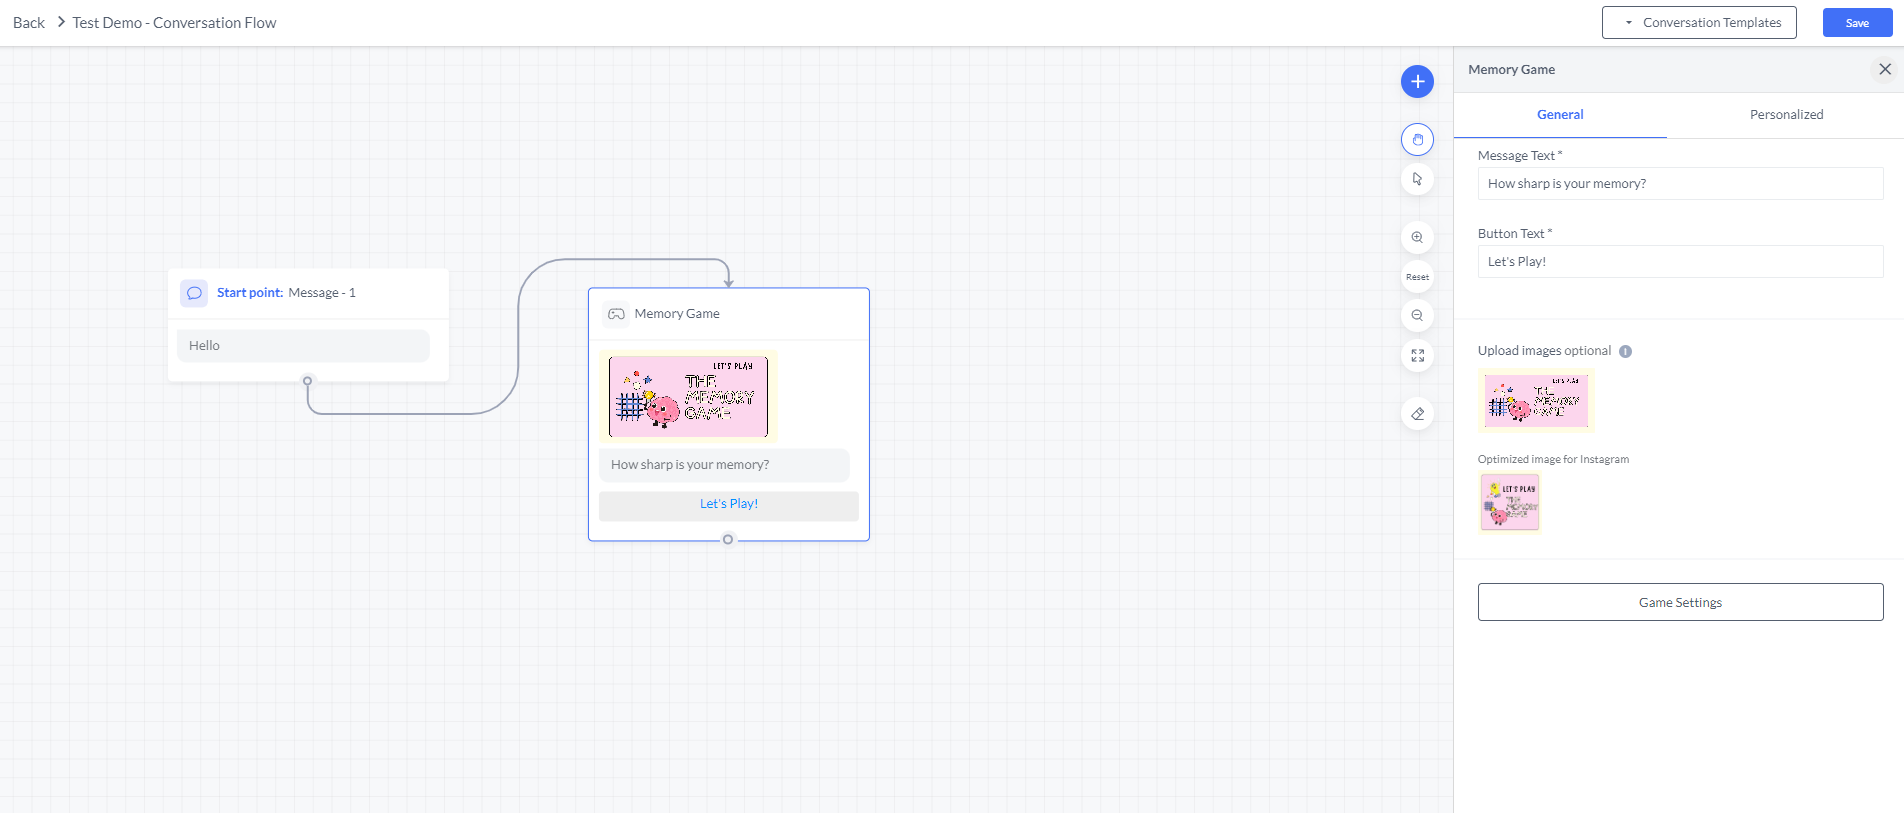
For this example, we will choose Activations > Add a game widget. Then we will go ahead and choose the Memory Game
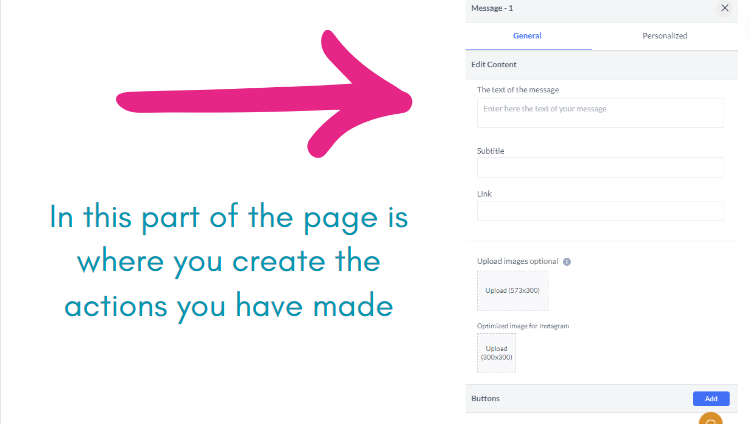
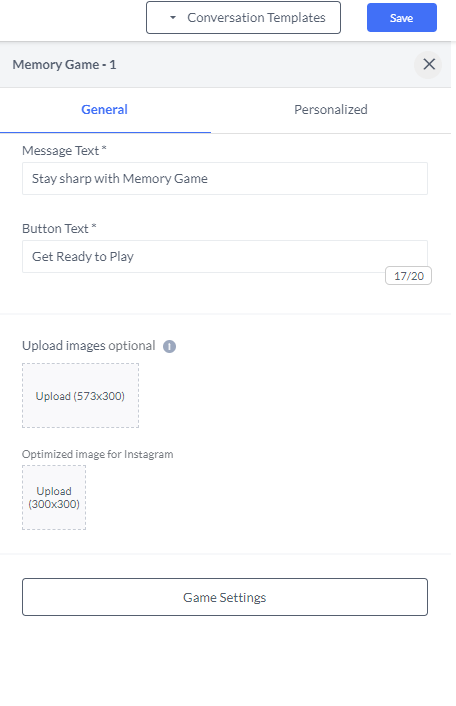 It will show you where you can customize a Message Text, Button Text, Images to upload (this one is optional) for your chosen Game Activation.
To submit an image, select the area labeled "Upload" and click.
When uploading an image, please ensure you're uploading the right-sized image.
.png?inst-v=adc58d17-ecec-4797-8b6c-9c216e76d54c)
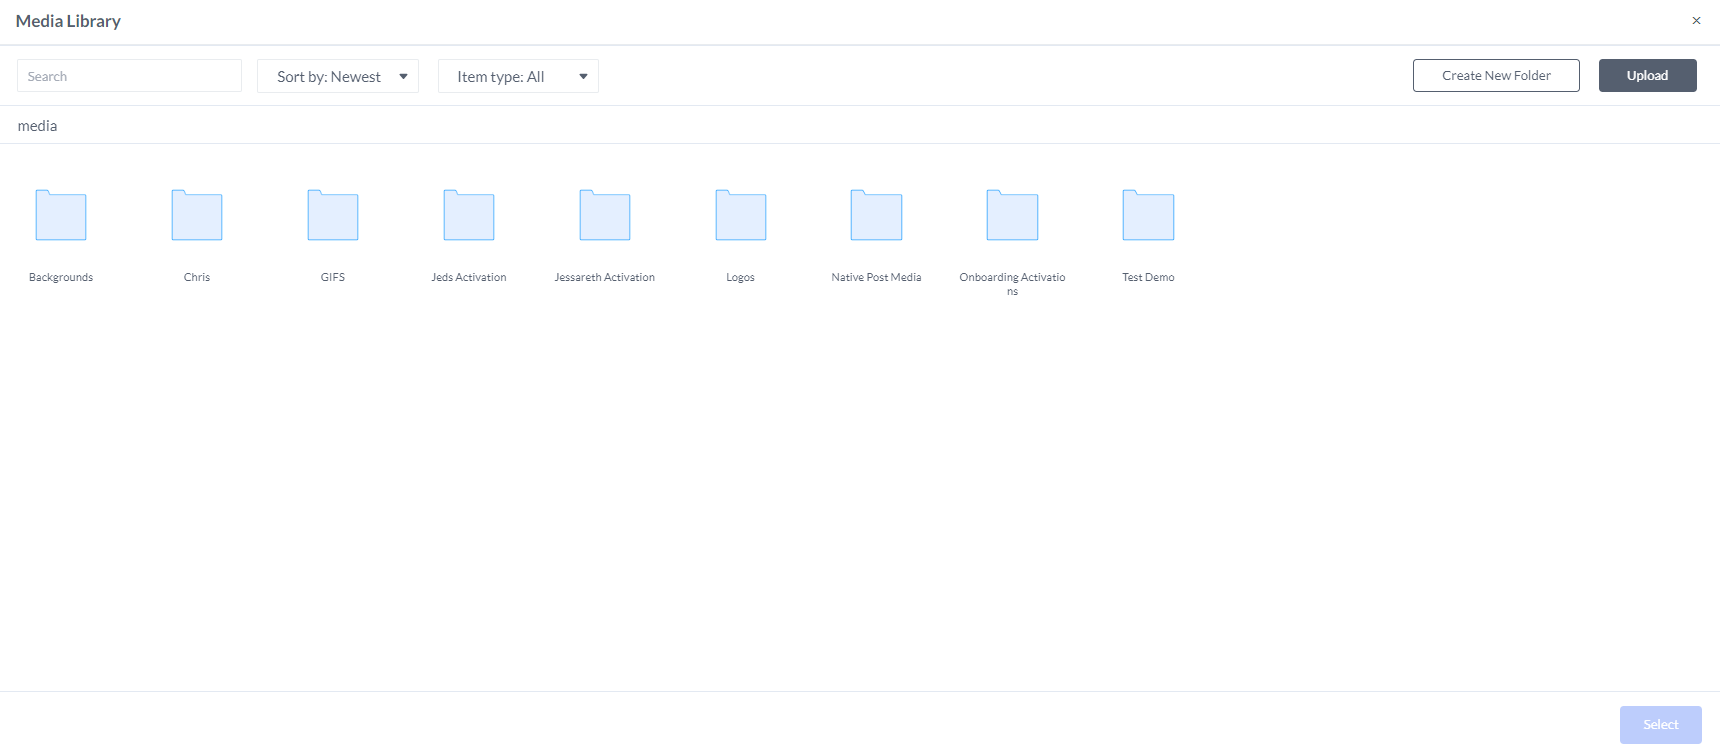
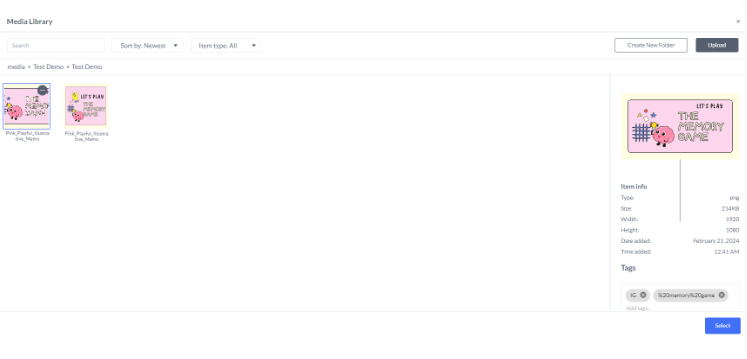
You can select images from the Engage Engine Media Library
Make sure the file is already saved in the Media Library. If it's not there yet, no problem! Just download it to your PC and then upload it to the Media Library.
Here are the sample of the Media Library.
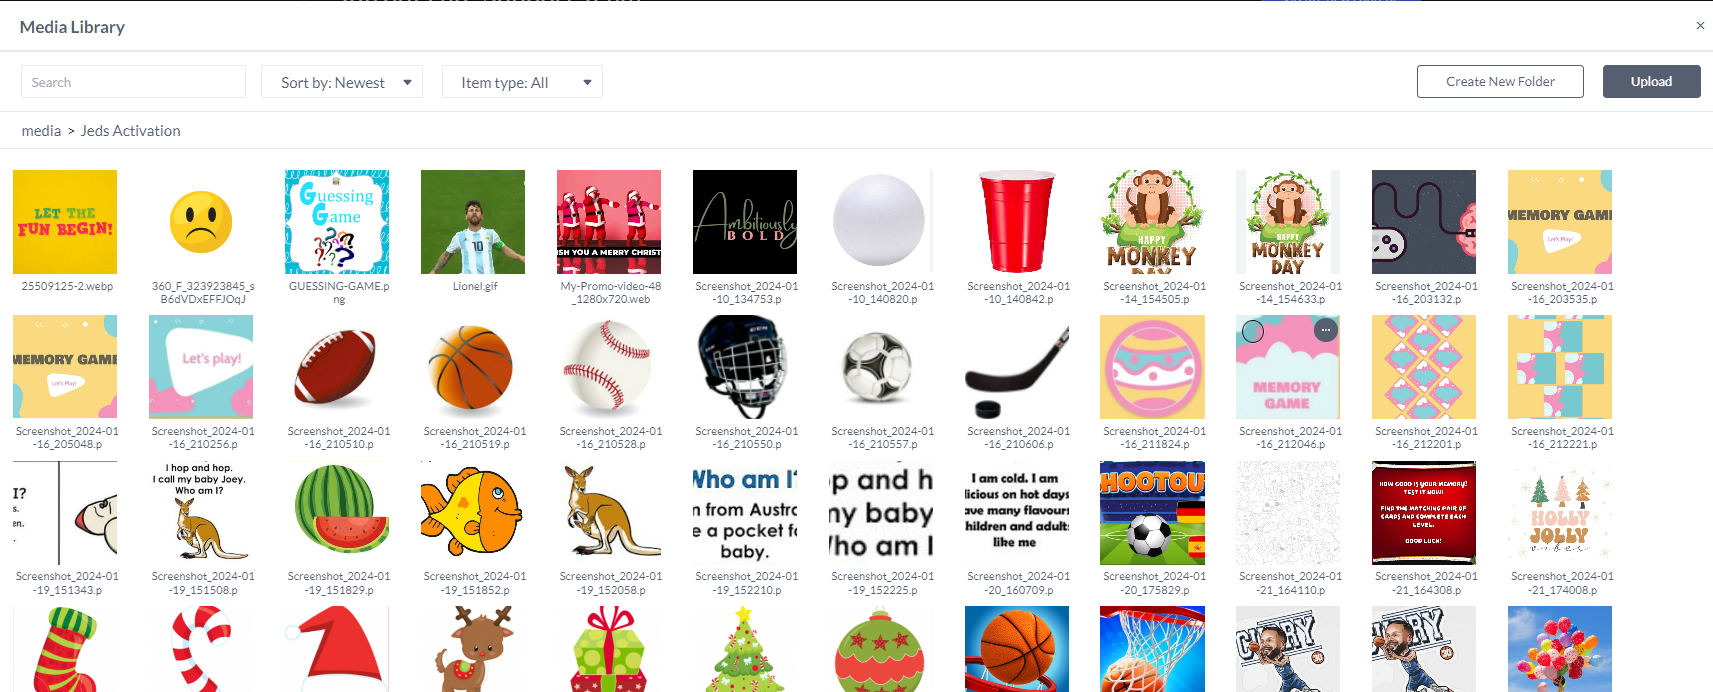
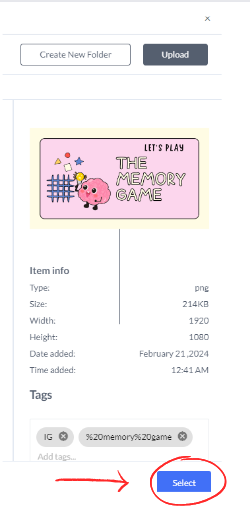
Now. let’s go back to our example, simply choose the image to upload
.png?inst-v=adc58d17-ecec-4797-8b6c-9c216e76d54c)
Once you have selected the image you will use, click on “Select”
Once all done, click on “Game Settings”
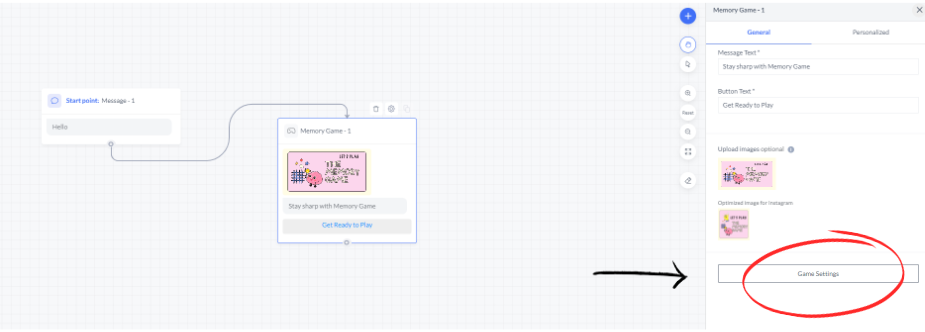
After clicking on that, a new page will appear. This page is where we customize the Game Activation, and on the right panel, you'll see a preview of what participants will see.
On this page, you'll find four sections that require completion:
Game Settings
Start Screen
Game
End Screen
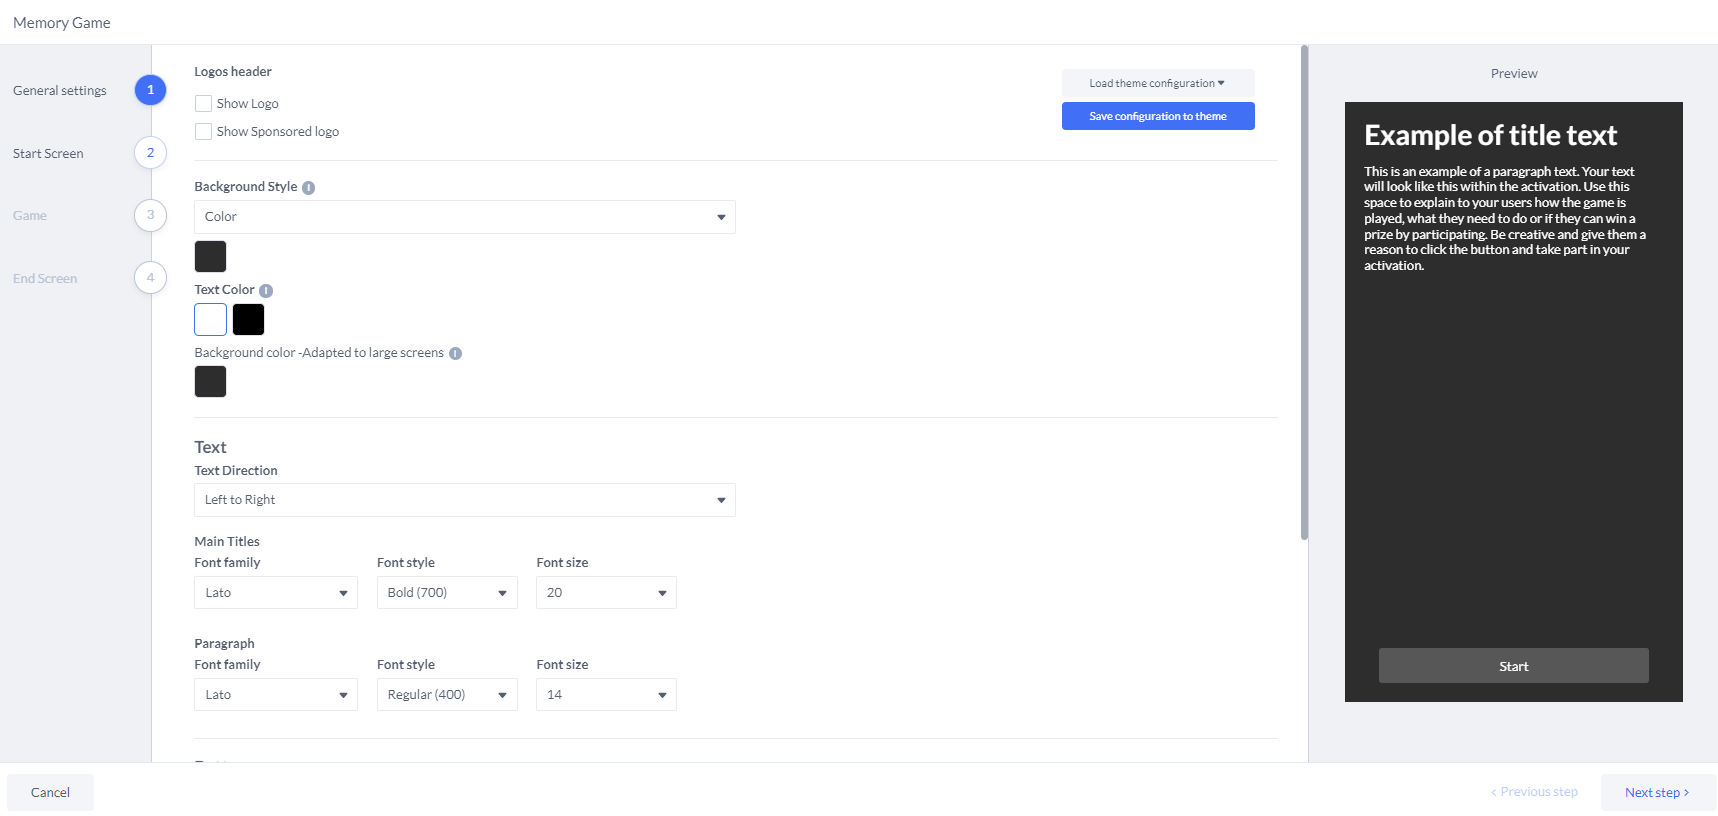
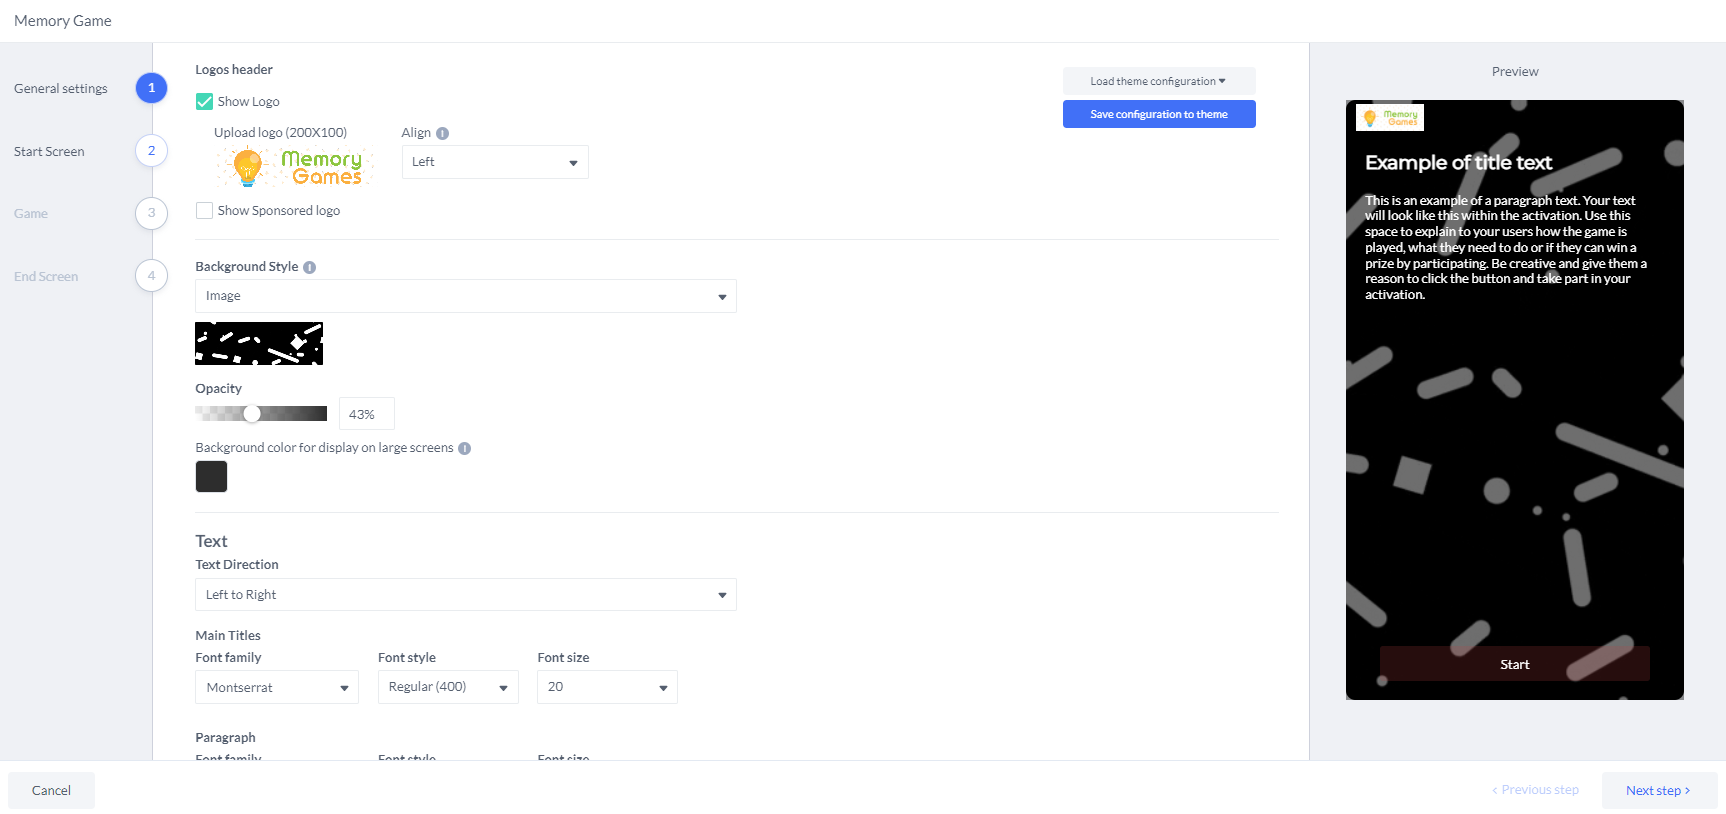
GAME SETTINGS
:
Logos Header
This is where you can find the Logo and the Sponsored Logo (optional).
Background Style
You can choose either a "color" or an image. (You can upload an image from the Media Library) and set alignment by selecting left, center, or right.
Next, you can adjust the image opacity and select the background color.
Text
Text Direction
Here, you can select the text direction, either from Left to Right or Right to Left.
Main Titles, Paragraph. Button
In this part, you can choose the Font Style and Font size you wanted to use.
With the Button option, you can customize both the button color and the button text color to your liking.
The image example will show the Game Settings
Once done. just click on “Next Step”
START SCREEN:
It's divided into three tabs: General, Collect User’s Data Points, and Participation Limit.
In the General section, you can enter the Title, Subtitle, Image, Button Text, and Sound.
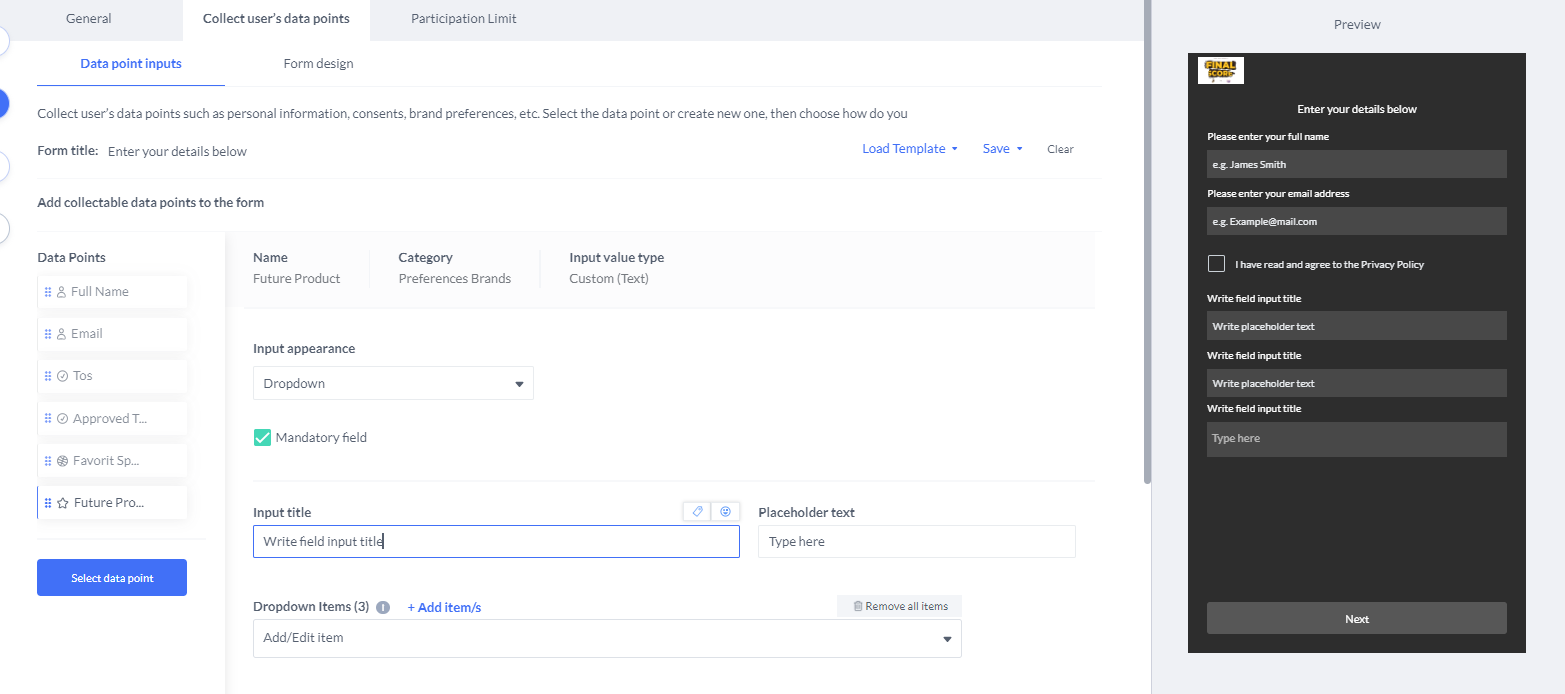
Under Collect User’s Data, there are two tabs: Data Point Inputs and Customizing Design.
In Data Point Inputs, we gather customer data using the following categories:
Personal Information: This includes Address, Age, Country, Date of Birth, Email, First Name, Full Name, Gender.
Consents: This includes Approved Terms of Use, Email Double Opt-in, Email Opt-in, Phone Number Double Opt-in, Phone Opt-in, Terms of Use (TOS).
Preferences Sports: This offers options like Favorite Sports, Favorite Merch, Favorite Player, Favorite Shop Item, Favorite Song, Favorite Team, and Favorite Watching Location.
Preference Brands: This provides options such as Club Member, Favorite Product, Future Product, Product Usage Frequency, and Purchasing Frequency.
Segmentation Questions: This includes options like Fan Club Member, Season Ticket Holder, Store Visitor, Ticket Purchasing.
Subscription: This includes one option: Season Ticket.
Other: This provides additional options such as Coffee Cup Prediction Results, Interested in More Info, and Interested in Our Website.
Additionally, there's an option to Create Custom Data Point, allowing customization according to our needs.
Here’s a sample of Collect User’s Data > Data Points:
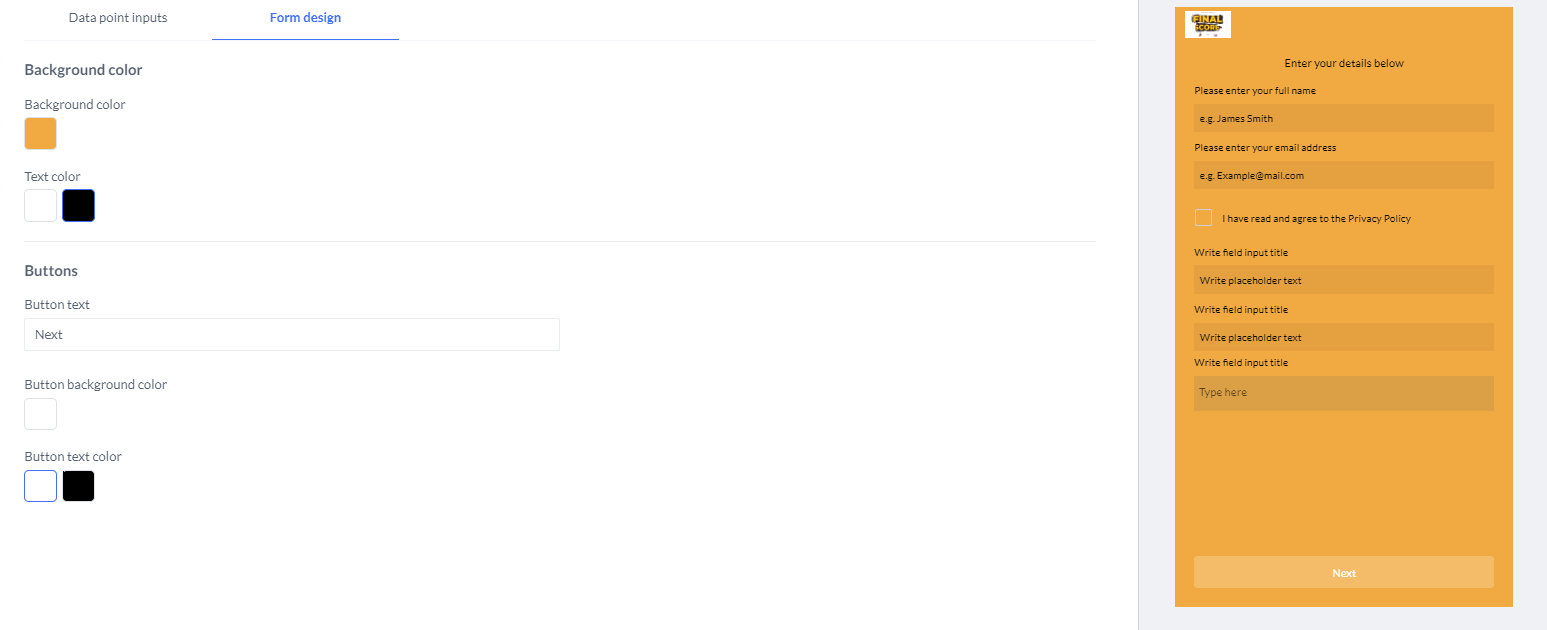
And here’s the sample of Collect User’s Data > From Design
The last tab under Start screen is for Participation Limit.
Some participants can repeat the process and provide their details but if we turn it off they will be notified that they have reached limit playing the game
Once you turn it on it will give allow you to customize your limit screen or prefer to use the default display. It also allows you to customize the Title and Subtitle and you can either use the default image or upload applicable image.
And on the Actions were a couple of options:
No Action
Close window button
Link Button
Collect user’s data points
Download button
Here’s a sample of Limit Screen Limit

GAME
This gives us 3 tabs : Settings, Design and Instructions
Let’s discuss each tab:
Settings: It gives you an option to turn on Logos Header and a Time Limit
Design this is where we choose either same image or Different Images
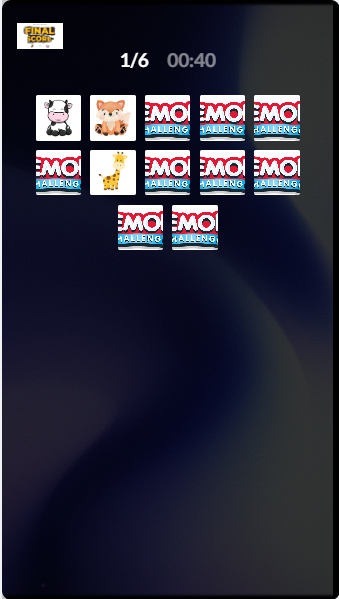
Instructions - This is where we customized the instructions
(See sample image)

4.END SCREEN
Now, this is the final step in creating the activation. This section determines what participants will see after the game. You can also customize the images visible to participants.
On the actions, you can choose the dropdown with a couple of options:
No Action
Close window button
Link Button
Collect user’s data points
Download button
Be sure to review the settings, chosen images, titles, and spellings. Once everything looks good, click on Apply.
Here's an example of the End Screen.
Afterward, you'll be directed back to the page where you created the activation. Refer to the image for guidance.
Once, its good to go, click on SAVE and then DONE
After clicking save, if you've missed any details, it may prompt you to complete them. Simply go back and complete the missing information and repeat the same process.
You'll get a confirmation indicating that your activation has been successfully set up!
Then this will route you to a page on the next steps in publishing it.Publish Activation